
BMW Continental Electronic MSV90 Engine ECU Replacement/Cloning
What product is recommended to do this function?
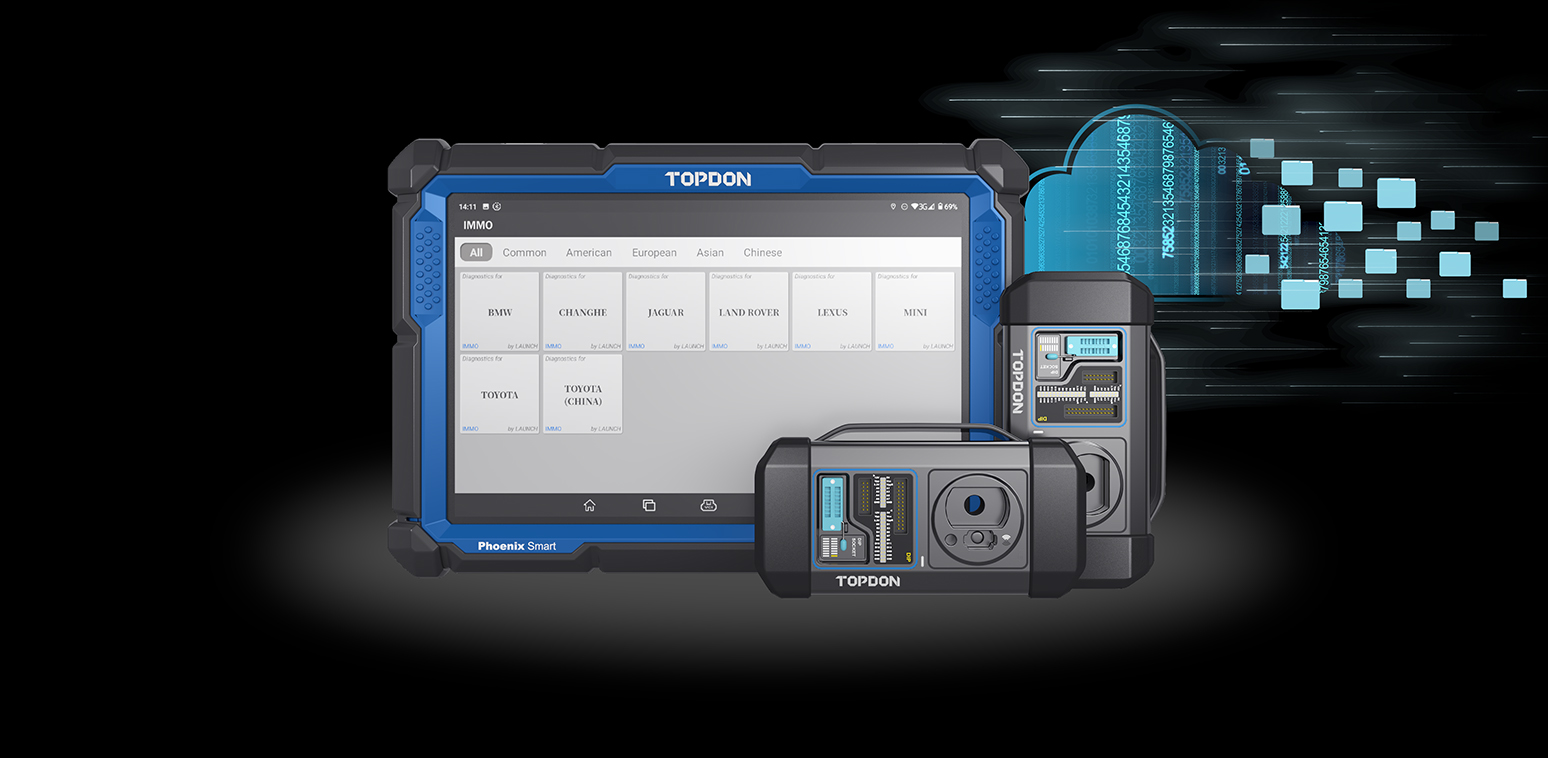
Phoenix Max + T-Ninja Box
Phoenix Smart + T-Ninja box
FEATURE

This function is required when you need to replace the Continental Electronic Engine ECU.
Supported BMW Continental Electronic Engine ECU models: MSD80, MSD81, MSD85, MSD87 and MSV90;
TESTED MODEL
BMW 5 Series 530i 2012
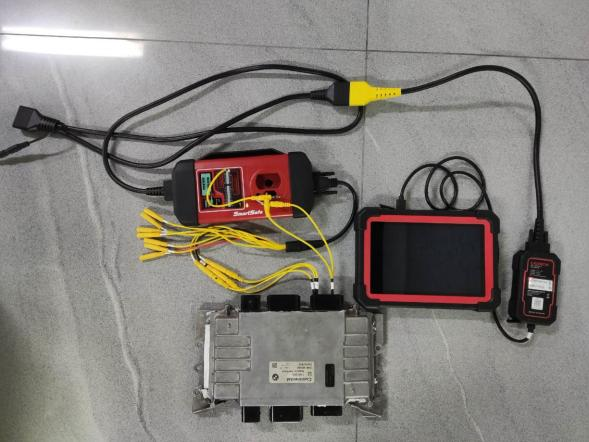
PHYSICAL WIRING DIAGRAM
STEPS
Replacement:
-
- Performthe backup function, read EEPROM and FLASH files from original engine ECU.
- Perform the FLASH data decryption function, load the original FLASH file to parse the ISN and record it (if the original engine ECU has been completely damaged, the ISN can be read from the Immobilizer module and the key).
- Performthe backup function, read EEPROM and FLASH files from external engine ECU.
- Perform the function of Change ISN, load the FLASH file of external engine ECU, and enter the ISN in the original vehicle (obtained in step 2), and save the changed FLASH file.
- Performthe function of Restore FLASH, and write the FLASH file with ISN changed to the external engine ECU.
- Performprograming and coding for Engine ECU after installed on the vehicle.
Cloning:
-
- Performthe Backup function, read EEPROM and FLASH files from original engine ECU.
- Performthe Backup function, read EEPROM and FLASH files from external Engine ECU (this step is to back up the original data of external engine).
- Performthe Restore function, and write the EEPROM and FLASH files of original Engine ECU into the external engine ECU respectively.
- Installit on the vehicle and clear DTCs.
Operation guidelines:
Take MSV90 Engine ECU replacement as an example
1. Click the【 IMMO 】menu to enter the Immobilizer independent software, as shown in the figure below:2. Select【BMW】 software
3. Click “OK” button to enter the software
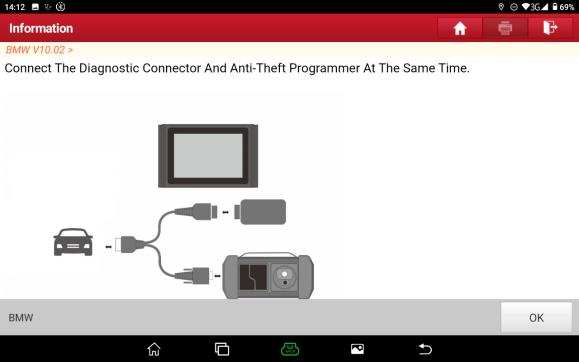
4. This function requires to remove the Engine ECU and to operate on the platform without connecting with vehicle OBD connector. Click OK after programmer connected, as shown in below:
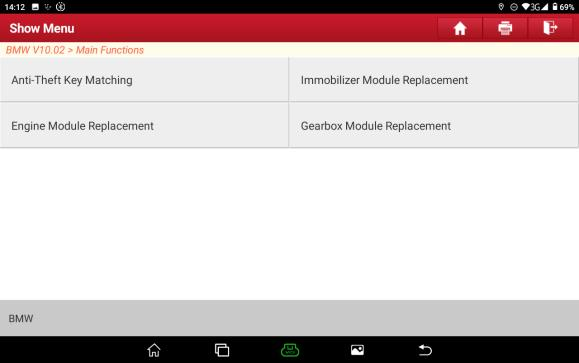
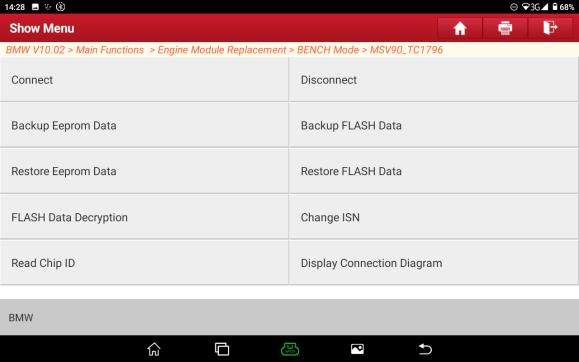
5. Click【Engine Module Replacement】, as shown in the figure below:
6. Click the【 BENCH Mode】, as shown below:

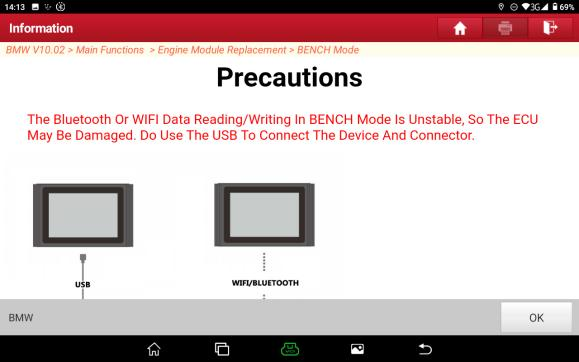
7. Due to the large amount of reading and writing data in the BENCH mode, Bluetooth and WIFI are erratic, which may cause damage to the ECU. Please be sure to use USB to connect the device and connector. Click “OK” after connected, as shown in the figure below:
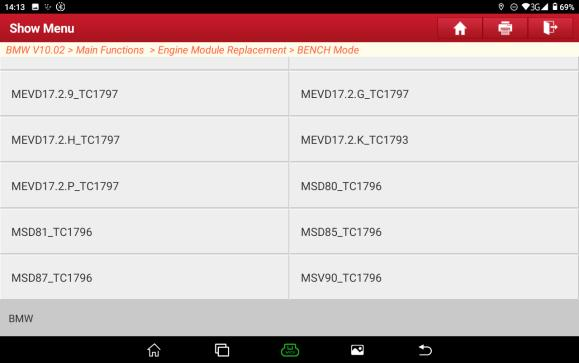
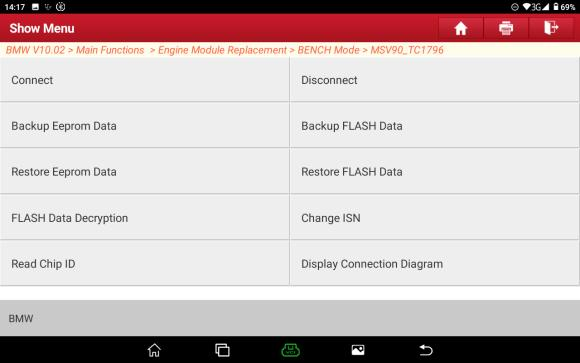
8. Select the corresponding Engine ECU model, select 【MSV90_ TC1796】 for this case using MSV90, as shown in the figure below:
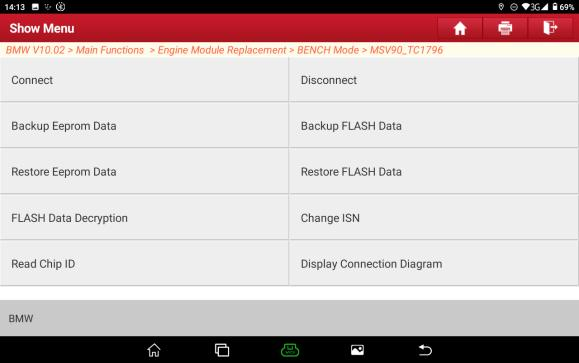
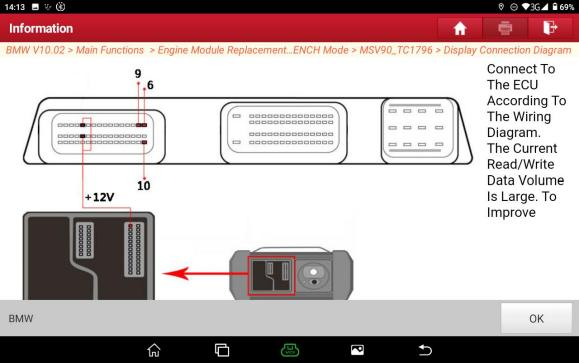
9. Click 【Display Connection Diagram】, as shown below:
10. Connect Engine ECU and the programmer according to the wiring diagram. Click “OK” after connected, as shown below:

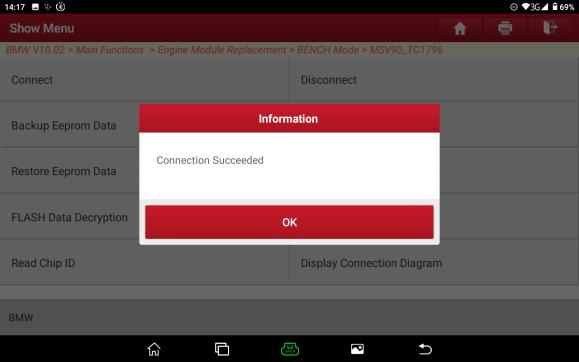
12.Click “OK” after the connection is successful, as shown in the figure below:
13. Click the function of【 Backup Eeprom Data】, as shown in the figure below:
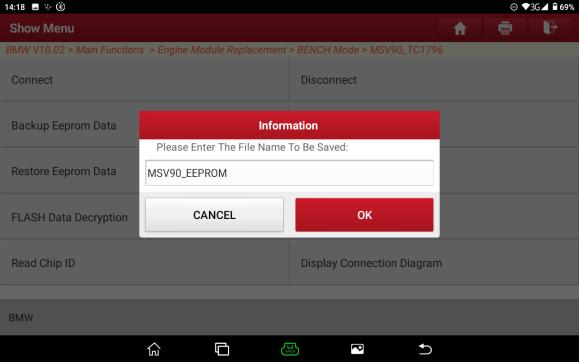
14. Enterthe backup file name, click “OK”, the backup is successful, and then click “OK”, as shown below:
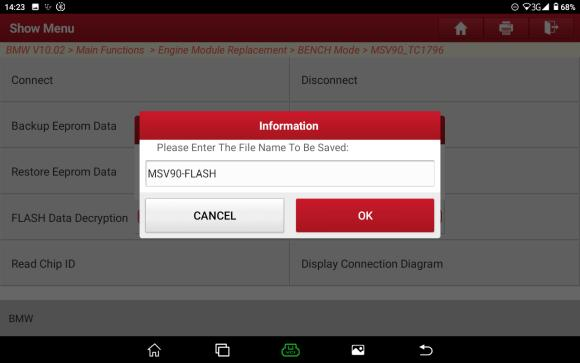
15. Click the function of 【Backup FLASH Data】, as shown in the figure below:

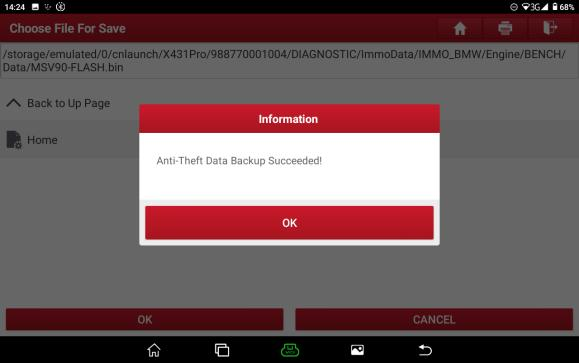
16. Enterthe name ofthe file to be saved and click “OK”, the save is successful, and then click OK, as shown in the figure below:

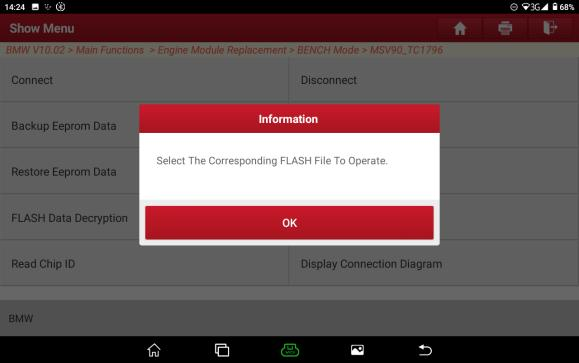
17. Clickthe function of 【FLASH Data Decryption】, as shown in the figure below:

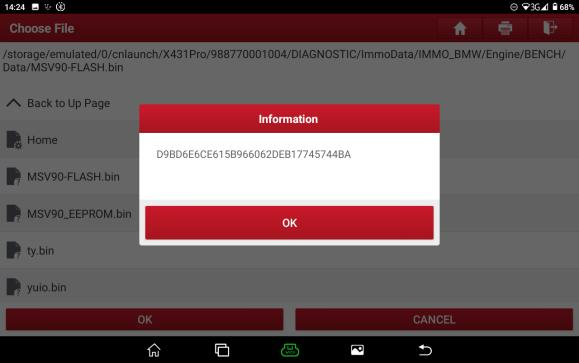
18. Selectthe original FLASH file data and click “OK”, as shown below:
19. Takea photo to record the 32-bit ISN, and click “OK”, as shown below:
20. Pleasemake sure to click the function of Disconnect to power offthe ECU after the operation completed, as shown in the figure below:

21. Click“OK”after the disconnection completed, and then remove the original engine ECU, as shown in the figure below:

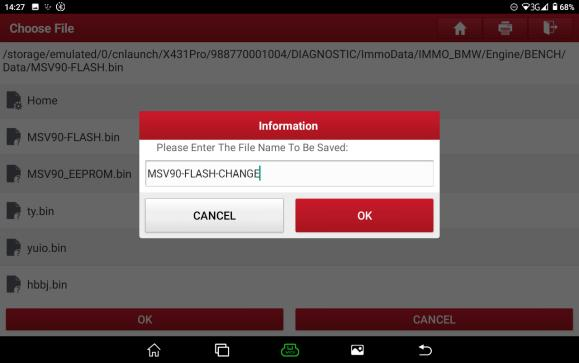
22. PerformBackup EEPROM and FLASH files and save them in the same way as above steps after the external Engine ECU connected, and then perform the function of Change ISN, click Change ISN, as shown in the figure below:

23..Select the FLASH file of external engine ECU and click “OK”, as shown in the figure
below:
below:
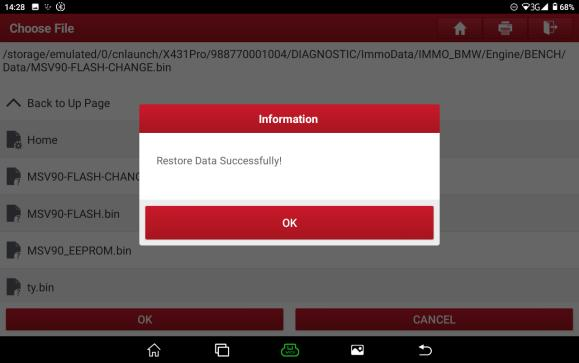
26. Click the function of【 Restore FLASH Data】, and load the FLASH file with ISN changed, as shown below:
27. Restore FLASH successfully, and then click“OK”, as shown below:
28. Please make sure to click the function of Disconnect to power offthe ECU after the operation completed, as shown in the figure below:

29. Click“OK”after the disconnection completed, and then remove the external engine ECU
30. Performprogramming and coding after the external engine ECU installed on the vehicle.